
Installing Prodigy
First, create a new Laravel app or install Prodigy into an existing Laravel app. If you are installing into a new app with SQLite, Prodigy will help you install the database.
Note on SQLite: Prodigy will run on any Laravel-supported database but SQLite is ideal. Using a file-driven database makes it easy to backup and move from server to server.
Now, run the following commands and follow the prompts:
composer require prodigyphp/prodigy

php artisan prodigy:install
Add @stack('pro_head') in the head of your base template.
Finally, login at /prodigy/login.
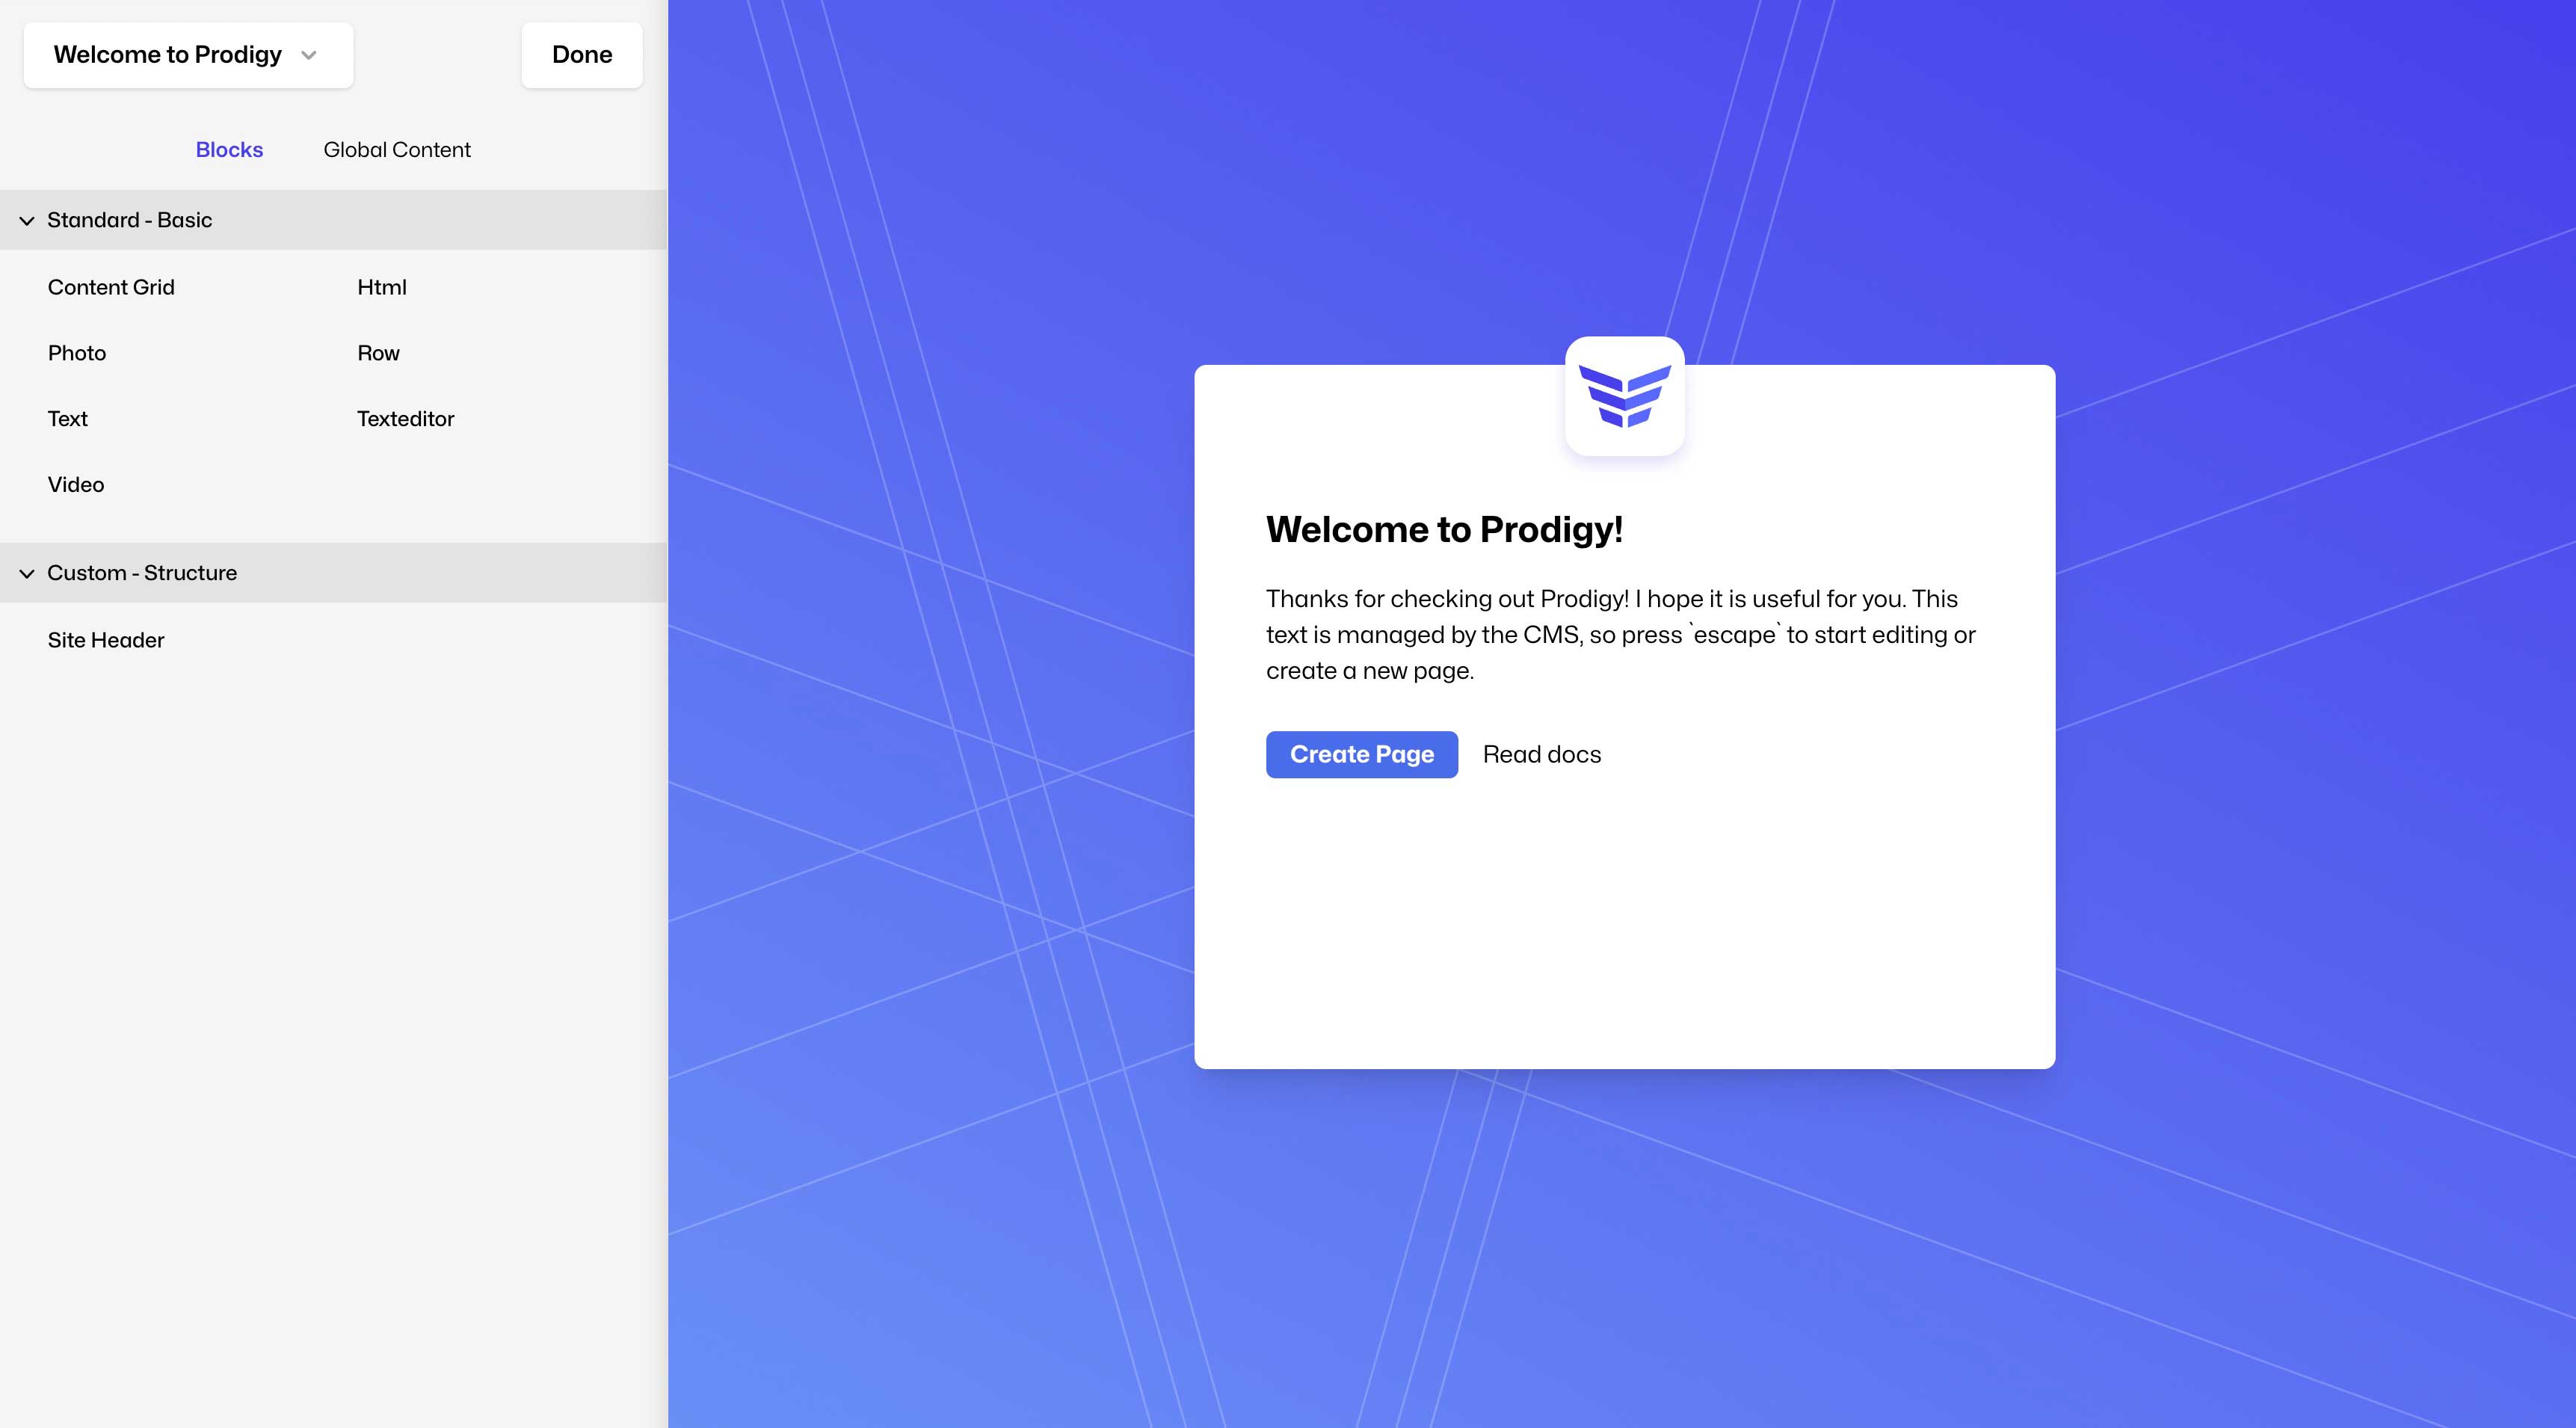
If everything worked, you should be see a default welcome page at / (or wherever you have prodigy.home set in the config).
Manual setup
If you need to manually add Prodigy, make sure of a couple things….
Add your email for access
in the config/prodigy.php file, make sure to add your email under access_emails.
Update .gitignore
Make sure you have the following in your .gitignore:
/prodigy
/public/prodigy
/storage/backups
Required template setup
Prodigy requires Livewire be added to each page in order to be editable. By default, Livewire looks for a layout file in /views/layouts/app.blade.php. If you want to change where this lives, you can change the prodigy config filefull_page_layout option.
Add the following required scripts to the <head> of every page that uses Prodigy…
<head>
<!-- ...other content above... -->

@livewireStyles
@livewireScripts
@stack('pro_head')

<!-- ...other content below... -->
</head>